Embroidery
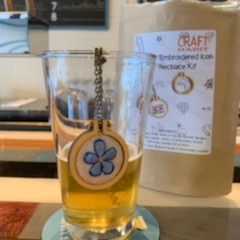
We’ve teamed up with crafting powerhouse Craft Habit in Raleigh to provide these ADORABLE embroidered necklace kits they make. There are many design options included in the kit so you can choose what suits your personality best, from glasses to hearts to llamas.
Price
Medium/Regular - $30
Large/Specialty - $35
Time to Complete
1.5 - 3 hours
Additional Info
- Templated or freehand craft
- Available to go
Materials in Kit
- Necklace Kit (includes mini hoop, chain, bolt, and 2 nuts for piecing together
- 1 small embroidery hoop
- Embroidery fabric
- Needle
- Embroidery floss/thread
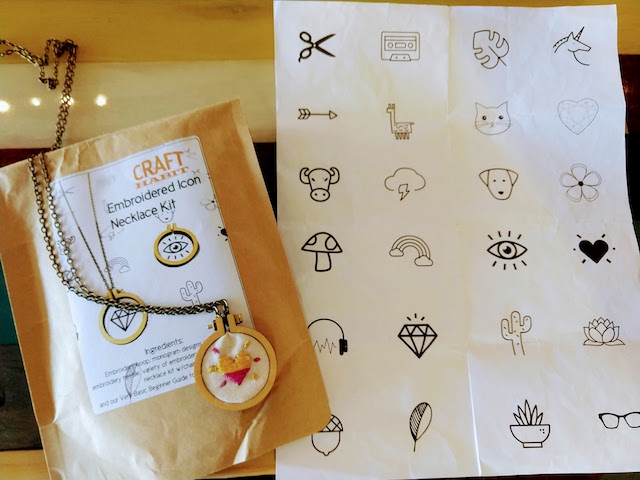
- Design sheet with 24 design options
- Paper circle cutout for helping assemble the necklace
Other Materials
- Pencil (found at gray craft cart)
- Scissors (found at gray craft cart)
- Glue Gun (found at gray craft cart)
- Additional colors of embroidery floss (Optional; found at craft carts)
Instructions
| Step 1 | Verify all materials are in your kit. | |
|---|---|---|
| Step 2 | Choose an icon from the sheet of 24 options, and place it underneath your fabric. Using a pencil, trace the design onto the embroidery fabric. This will be your pattern. | |
| Step 3 | Secure your fabric into the embroidery hoop included. You'll use this hoop to hold the fabric taught while you stitch your design. | |
| Step 4 | Choose your starting thread color, and cut a piece about the length of your hand to your elbow. Each embroidery floss is 6 threads loosely woven together. You'll want to spit your cut floss in half, so it's 3 threads in each strand. This will make it much easier to thread your needle. | |
| Step 5 | Thread your needle and start stitching! You can either color in your whole design with thread, or simply make an outline and go from there. | |
| Step 6 | When you have finished stitching and are happy with your design, take the paper circle cutout from the kit and center it around your design, trace it, an cut it out. | |
| Step 7 | Take the open necklace hoop and place it face down on the table, and then center your embroidered design over it, also face down. | |
| Step 8 | Place the center back plate down so it fits inside the open hoop. Turn over and check that your design is centered. If not, remove and repeat. | |
| Step 9 | Once you're happy with the design placement, place the first nut onto the hoop screw, place through the opening up top the mini hoop, place the other nut on the other end, and tighten the 2nd nut clockwise. | |
| Step 10 | Use hot glue to secure the fabric to the thick backing piece and to secure the thinner backing piece to the edge of the larger hoop. Allow to dry, and you're done! |