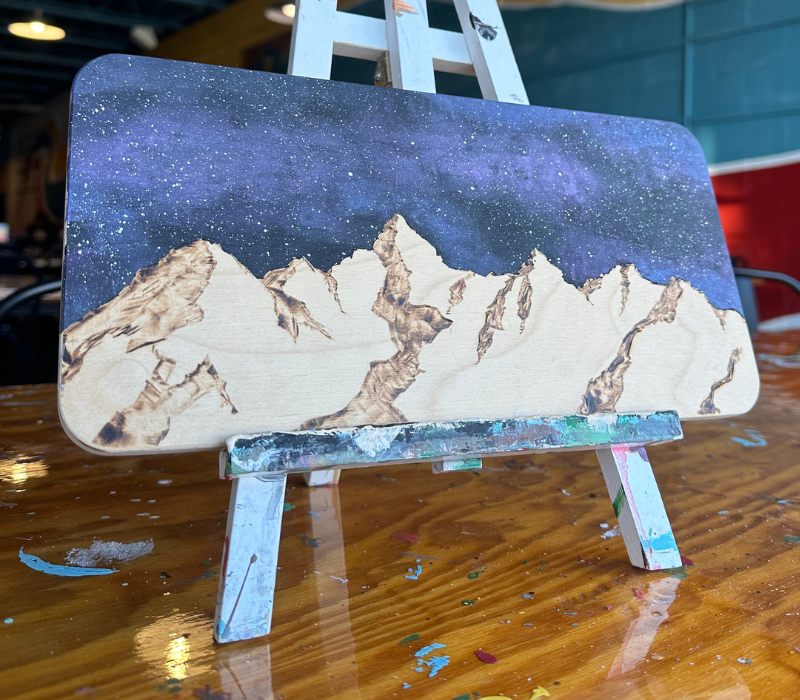
Wood Burning
Wood burning is a fun and therapeutic craft that has just a hint of danger, making it an adult favorite at Crafts & Drafts. Pick one of our stencils to trace, or try your hand at free-styling using the pyrography pen tips provided. Sit back, trace your lines, and bask in the scent of burning wood that makes you feel like you’re roasting marshmallows on a perfect fall evening. Ahhh…
Important: Wood burning utilizes high heat tools to burn into wood, and these high heat tools can cause harm when used without proper care and precaution. Users assume all risk and responsibility, for themselves and those around them, when taking part in this activity.
Price
$40
Time to Complete
1.5 - 3 hours
Additional Info
- Waiver required
- Templated or freehand craft
- Design options may vary
- Not available to go
Materials in Kit
- Wood board
- Pyrography pen and metal stand
- Black placemat
- Pencil
- Scrap wood
- D-rings and wire for hanging
Other Materials
- Plastic Stencils (Wood Burning Station)
- Painters tape (craft cart)
- Screwdriver (craft cart)
- Pencil (craft cart)
- Color Pencils (craft cart)
- Wire cutters and pliers for bending wire (craft cart)
Instructions
| Step 1 |
Set up your station with the black placemat down on the table, metal pen stand on the placemat, and the pyrography pen sitting on it. The wood board, pen, and stand should remain on the black mat at all times.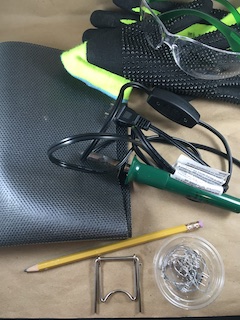 |
|
|---|---|---|
| Step 2 |
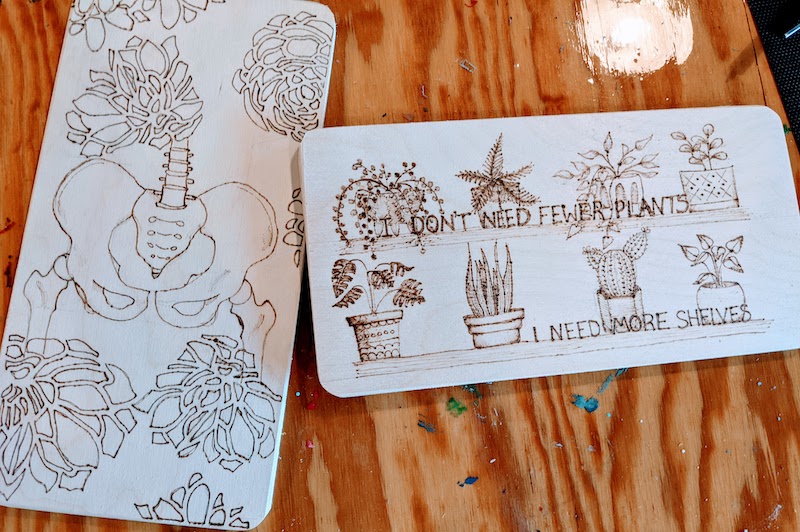
Pick your stencil at the Wood Burning Station, trace using a pencil and painters tape to keep in place, then *remove the stencil* before heating up your wood burning pen.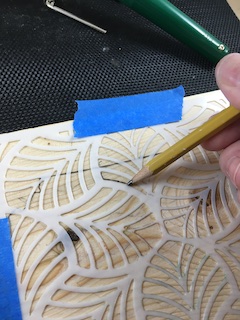 |
|
| Step 3 |
Plug in the pyrography pen so that the cord isn’t in the way of you or a neighbor. Remain aware of where the cord is at all times to avoid accidents. Turn on the pen and give it 5-10 minutes to heat up. 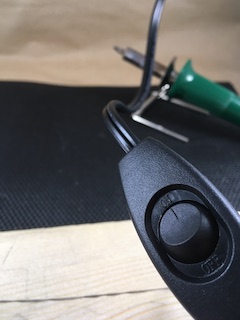 |
|
| Step 4 |
Begin tracing the lines on your board, SLOWLY, and with a light touch. If your pen gets too hot, turn it off, unplug it, and request another one from a staff member. Trace and fill in your lines with the pyrography pen until you’ve achieved the desired result. Add color using color pencils, if you like.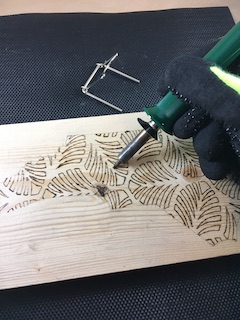 |
|
| Step 5 |
When your design is complete, turn the pen off and unplug it. If you would like to hang up your sign, use a screwdriver to screw in two D-rings to the back of your work, cut a piece of hanging wire with the wire cutters and twist with pliers between the two rings. You’re done!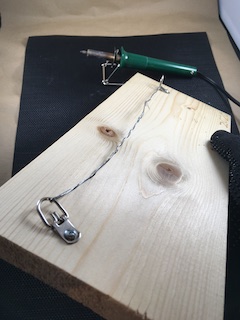 |
|